Sand Sculpting Techniques
The decorative side of beach digging — patterns, texture, and detail
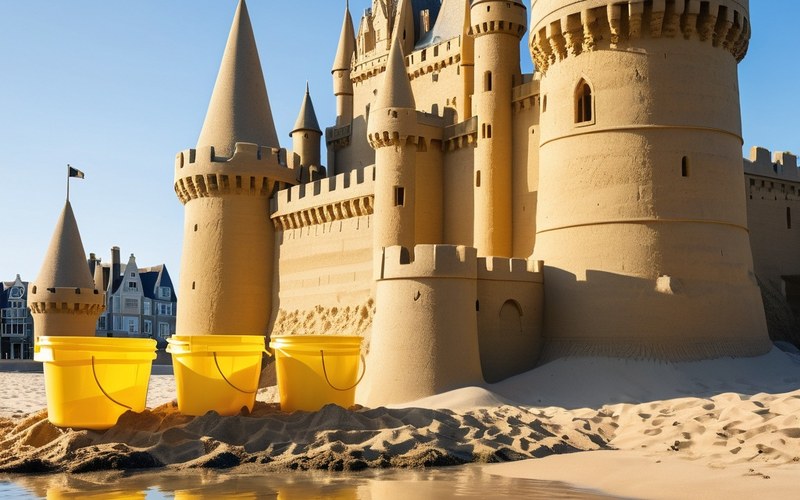
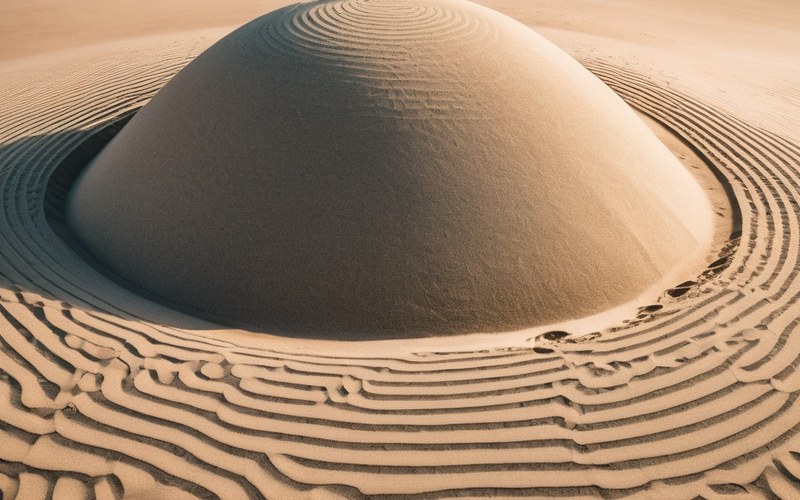
Most of the projects on this site are about engineering — moats, tunnels, channels. Sand sculpting is different: it's about surface, texture, and decoration rather than structure. A few simple techniques, mostly borrowed from actual sand sculpture competitions, turn a basic mound or castle into something that looks genuinely impressive with very little extra time invested.
Step by Step
- Build a firm, well-compacted base mound using the pack-and-mound method — pile sand and firm each layer with the flat of a spade as you build up.
- Mix a separate small batch of very wet sand to a thick, dripping consistency.
- Drip the wet sand from your fist onto the top of the mound to build spires and irregular texture.
- Once the basic form has firmed up slightly, carve larger details first — doorways, window openings, and major surface lines.
- Move on to finer carved details once the larger shapes are established.
- Press shells, pebbles, or other natural materials into the still-damp surface to finish.
Wet Sand Is Sculpting Sand
Dry sand can be shaped roughly but won't hold fine detail. Properly wet, well-compacted sand — mixed to a consistency closer to thick mud than beach sand — holds edges, patterns, and even small overhangs. Mix water into your sand gradually, testing as you go, rather than soaking it all at once; over-wet sand becomes sloppy and loses its ability to hold shape just as much as bone-dry sand does.
The Drip Technique
Take a handful of very wet, almost liquid sand and let it drip slowly from your fist onto the top of a mound. As it lands and stacks up, it forms natural spires, turrets, and irregular textures that look remarkably like natural rock formations or fantastical architecture. This is the single most effective and easiest sand sculpting technique to teach children, and it improves quickly with practice.
Carving Detail
Once a basic shape is packed and firm, use the edge of a flat stone, a lolly stick, or the back of a spade to carve lines, doors, windows, and patterns into the surface. Work from the top down and from large details to small ones — carving delicate details before the overall shape is finished risks knocking them off as you keep working.
Using Natural Materials
Shells, pebbles, seaweed, and driftwood all make good decorative additions, pressed into damp sand while it's still workable rather than added as an afterthought once it's dried. Arranging shells in patterns along the base of a structure or using a row of pebbles to mark out a path are simple additions that add a lot of visual interest for very little effort.